Garden Bed Installation and Maintenance: Simple Steps for a Healthy Yard

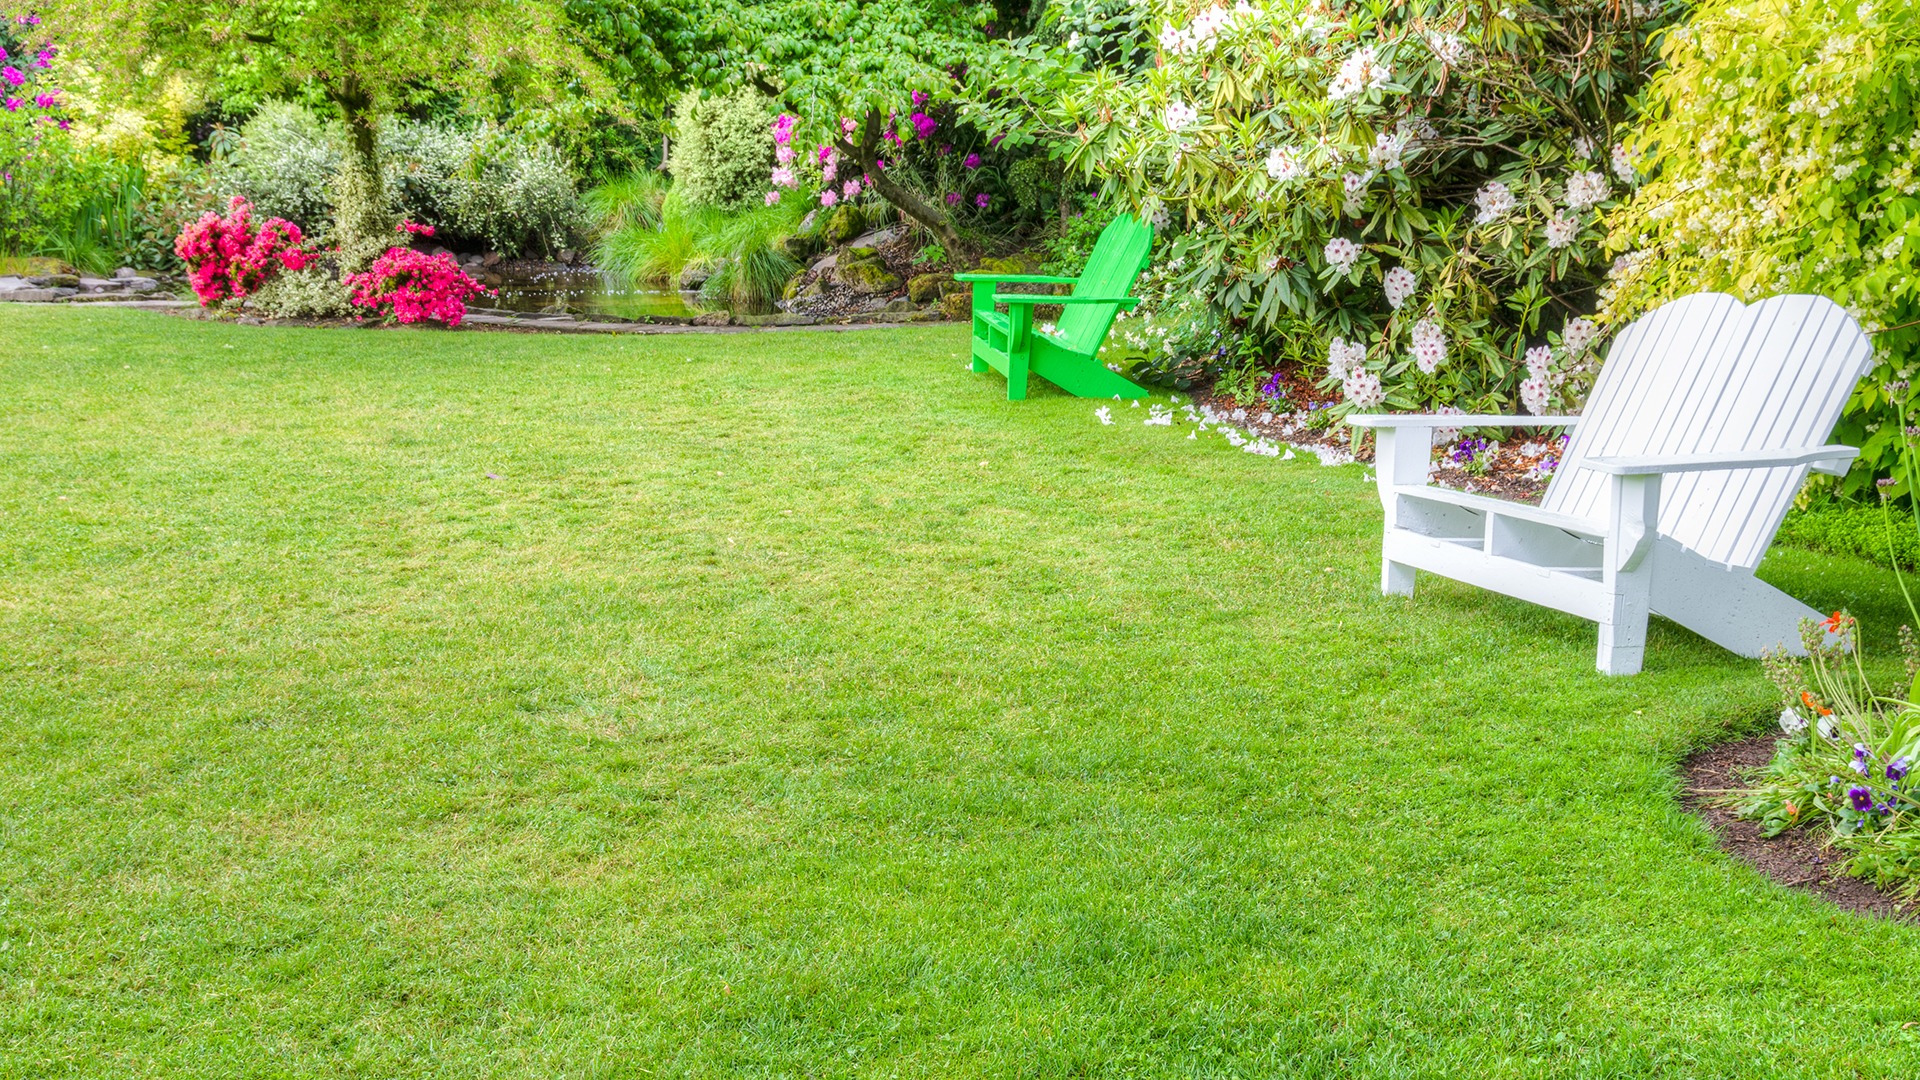
Your yard deserves care that shows. A healthy, well-kept garden bed gives your property structure, colour, and balance. Whether you’re refreshing old flower beds or starting new ones, small details make a big difference. Our comprehensive lawn maintenance guide helps you understand how simple routines and the right preparation can bring lasting results. When your garden beds are properly installed and maintained, your outdoor space becomes easier to manage, more inviting, and adds long-term value to your home.
This guide walks you through garden bed installation and maintenance with practical, easy-to-follow steps. You’ll learn how to prepare a garden bed, how to edge garden beds, and how to manage seasonal flower bed maintenance without stress.
Green Scholars Landscaping & Lawn Care believes that dependable service and professional quality should come standard. Our process is built around fairness, efficiency, and clear communication, you always know what to expect.
How to Prepare a Garden Bed the Right Way
Every beautiful landscape starts with proper groundwork. When you’re planning garden bed installation and maintenance, your preparation determines how well your plants will grow. Taking the time to plan your layout, understand your soil, and remove obstacles gives your plants the best chance to thrive. Strong preparation builds a lasting foundation, ensuring your garden stays healthy, balanced, and easy to maintain throughout the year.
Step 1: Choose the Right Spot
Look at sunlight, drainage, and how close the bed is to other features. Most flowers and shrubs thrive in areas that get at least six hours of light daily.
Step 2: Clear the Area
Remove weeds, rocks, and old roots. Use a flat spade or garden fork to turn the soil. This loosens compacted areas and allows for better air and water flow.
Step 3: Plan for Drainage
If your yard tends to hold water, consider raising the bed slightly. This keeps roots healthy and prevents rot.
When you know how to prepare a garden bed properly, you set yourself up for less maintenance later. Adding compost or organic matter now makes your soil more fertile, saving effort throughout the growing season.
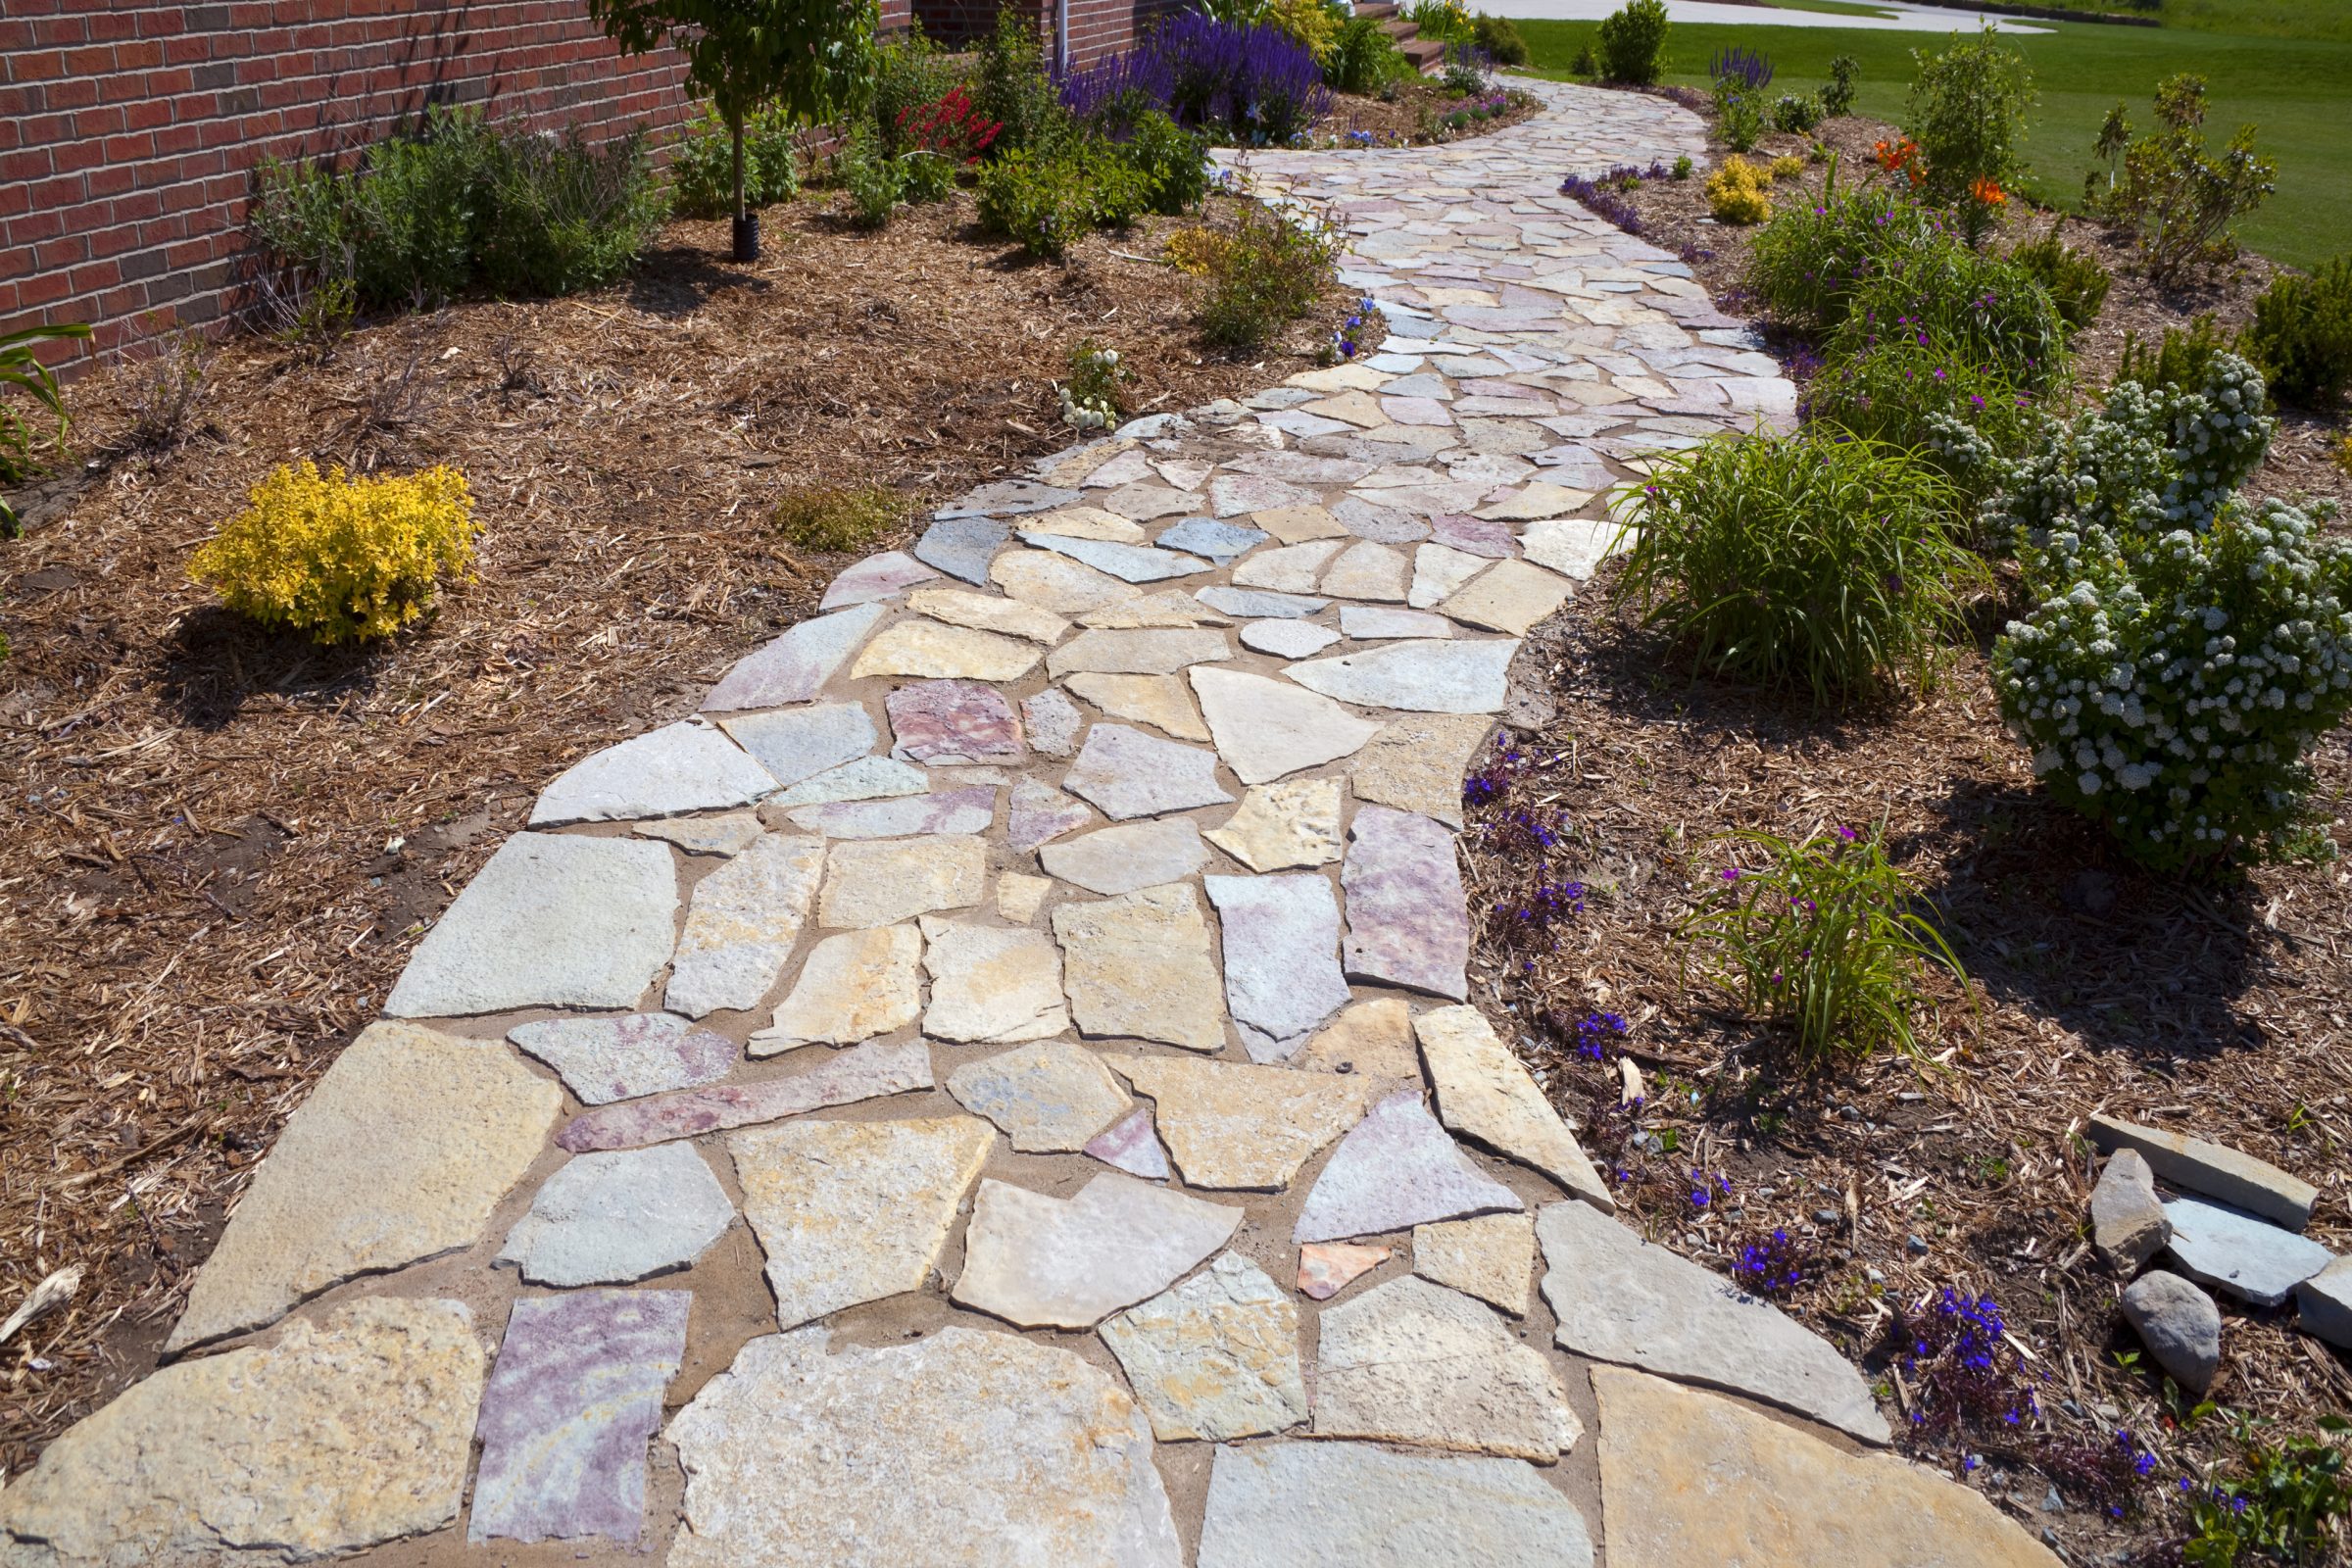
What You Get from a Clean Edge Around Your Beds

A clean edge does more than make your garden look tidy. It defines the space and creates a neat separation between lawn and planting areas. A well-cut edge also prevents grass from creeping into your beds, keeps mulch in place, and highlights your plants as distinct features of your landscape. It’s a small detail that instantly boosts curb appeal and makes your yard look professionally maintained without extra effort.
Why It Matters
A defined border stops grass from creeping into the garden and keeps mulch in place. Learning how to edge garden beds helps your property look professionally maintained all season long.
Tools for Edging
- Half-moon edger for clean cuts
- Garden spade for tight corners
- String line or hose to guide your edge
Cut a trench about two to three inches deep and slope it slightly toward the lawn. This shape holds mulch neatly and gives your yard that crisp, finished appearance.
When combined with consistent garden bed installation and maintenance, edging becomes a key detail that adds value and beauty to your home.
Seasonal Garden Bed Maintenance Checklist

Regular attention keeps your garden healthy year-round. A seasonal flower bed maintenance checklist helps you stay organized and avoid last-minute stress. By planning ahead, you ensure your plants get the right care at the right time: whether it’s pruning, fertilizing, or refreshing mulch. Consistent upkeep saves you time, reduces costly repairs, and keeps your yard looking polished in every season.
Spring
- Rake out debris and leaves from winter
- Prune dead growth
- Refresh soil with compost
- Edge and redefine borders
Summer
- Water deeply once or twice a week
- Monitor for pests and weeds
- Deadhead flowers to encourage new blooms
Fall
- Remove dying plants and old mulch
- Add fresh compost to restore nutrients
- Plant bulbs for spring
Winter
- Cover exposed soil with mulch or straw
- Brush off heavy snow from shrubs
By following a steady schedule, you make garden bed installation and maintenance simpler. Staying consistent reduces your long-term work and keeps your plants thriving through every season.
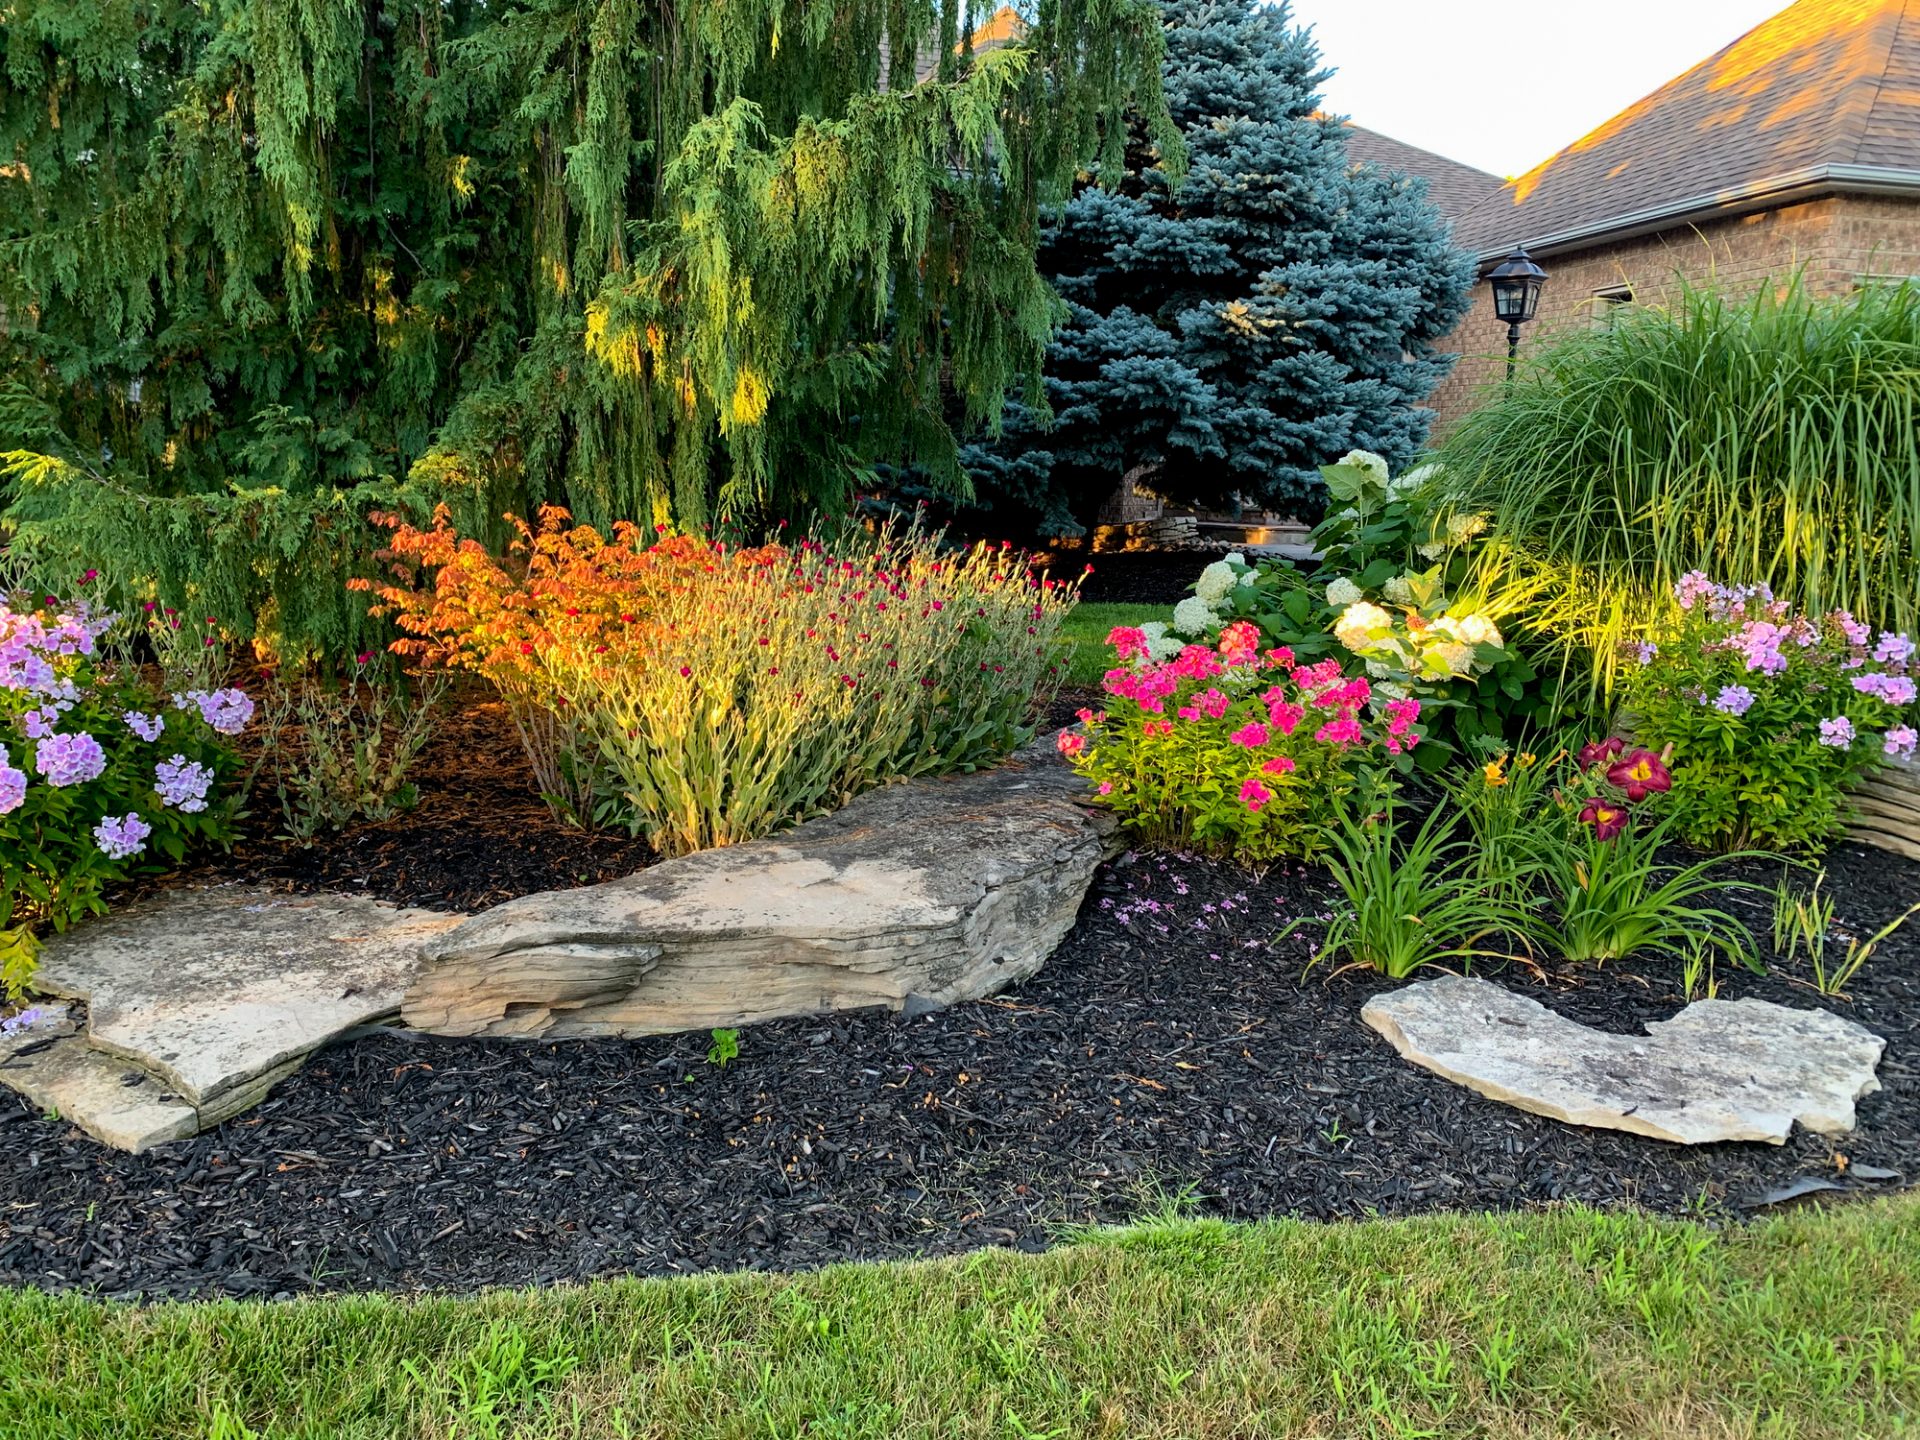
How to Choose Mulch That Fits Your Style & Climate

Mulch does more than just look good: it protects your plants and improves soil health. Choosing the best mulch for flower beds depends on your local weather and your yard’s design. The right mulch helps retain moisture, regulate soil temperature, and reduce weeds. It also enhances your garden’s appearance by creating an even, finished surface that highlights your plants and defines your outdoor spaces beautifully.
Organic Options
- Shredded bark or cedar: Breaks down slowly and enriches soil
- Pine needles: Great for acid-loving plants
- Compost or leaves: Budget-friendly and improves texture
Inorganic Options
- Stone or gravel: Long-lasting, ideal for high-traffic areas
- Rubber mulch: Low maintenance but doesn’t add nutrients
Mulch keeps moisture in, regulates temperature, and reduces weeds. It also gives your beds a clean, even finish—an important part of any garden bed installation and maintenance routine.
When choosing the best mulch for flower beds, aim for materials that match your region’s climate. In Halifax, organic mulch works best, adding nutrients through the seasons while staying environmentally friendly.
Keeping Weeds Out of Your Beds Without Chemicals

Weeds compete with plants for sunlight and nutrients. Chemical sprays can harm soil quality and nearby grass, so many homeowners prefer natural weed control for garden beds.
Simple Weed Control Tips
- Use a weed barrier fabric: Place it under mulch to block growth.
- Apply thick mulch: Two to three inches helps block sunlight to weed seeds.
- Hand-pull after rain: Soft soil makes removal easier.
- Regularly edge and reapply mulch: Keeps borders clean and discourages spread.
Combining these methods gives you an environmentally friendly solution that fits well into your garden bed installation and maintenance plan.
Soil Preparation Tips for Healthy Roots
Healthy plants start with healthy soil. Taking time for soil preparation for planting beds ensures better growth, stronger roots, and fewer pest problems.
Step-by-Step Soil Prep
- Test your soil: Learn your pH level and nutrient balance.
- Amend the soil: Add compost or aged manure to boost fertility.
- Break up clumps: Fine, loose soil encourages roots to spread easily.
- Rake smooth: Creates an even surface for planting.
In areas like Halifax, where the climate can shift quickly, preparing soil well helps plants adjust. It also supports steady growth for shrubs, perennials, and flowers.
As part of your garden bed installation and maintenance, this step is essential. You’ll notice better plant colour, stronger blooms, and less water stress.
When to Refresh Mulch & Replace Plants
Even well-maintained beds need updates. Refreshing mulch and replacing tired plants keeps your landscape looking new.
Signs It’s Time to Refresh
- Mulch has faded or thinned out
- Plants look weak or crowded
- Soil feels compacted or dry
Aim to refresh mulch once or twice a year. Add a one-inch layer in spring, then again in late summer if needed. This maintains a consistent appearance and keeps weeds away.
When plants stop thriving, don’t hesitate to replant. Choose varieties suited to your light and soil conditions. Regular updates are part of smart garden bed installation and maintenance that keeps your yard looking sharp.
How to Keep It Hassle-Free Year-Round
Consistency makes the biggest difference. When you plan your care schedule around the seasons, you spend less time reacting and more time enjoying your yard.
Make Maintenance Easy
- Set reminders for watering, pruning, and edging
- Hire dependable professionals who show up on time
- Use efficient systems for scheduling and communication
This is where Green Scholars Landscaping & Lawn Care stands apart. When you call, someone answers. Quotes are clear, and jobs are completed within the scheduled window. Every crew member is motivated to deliver precise results, backed by performance-based pay and follow-up audits.
Their approach to garden bed installation and maintenance means you don’t need to chase down updates or manage scheduling stress. You get peace of mind, knowing your property is cared for exactly as promised.
Dependable Service You Can Trust

Green Scholars Landscaping & Lawn Care has built its reputation on reliability. When you reach out, you get fast answers, transparent pricing, and service that values your time. Every project is reviewed for quality, and if something isn’t right, it’s fixed the same day. Their attention to detail extends to every corner of your landscape from precise edging and proper planting to effective weed control for garden beds that keeps your yard looking clean and professional.
This commitment shows in every clean edge, well-tended flower bed, and healthy lawn. The result? A yard that reflects the care you expect from experienced professionals who take pride in their work.
Ready to simplify your garden bed installation and maintenance? Request a quote today and enjoy dependable, worry-free care for your outdoor space.
Summary
This blog covers practical steps for garden bed installation and maintenance, including how to prepare a garden bed, how to edge garden beds, and tips for seasonal flower bed maintenance. It also explores weed control for garden beds, soil preparation for planting beds, and how to choose the best mulch for flower beds for Halifax’s climate.
Whether you’re maintaining your own yard or hiring a trusted professional, these steps help you keep your garden looking clean, organized, and healthy year-round.
Tags: