Sod Installation 101: What To Expect And When To Install

Creating a lush, green lawn in Halifax doesn’t have to feel overwhelming. For many homeowners, understanding the sod installation process is the first step toward a yard that looks professional and stays healthy through every season. Whether you’re starting from bare soil or replacing a patchy lawn, installing sod is one of the most reliable ways to achieve fast, even results.
This guide covers everything you need to know from how to prepare soil for sod, the right watering schedule for new sod, and when to install sod, to understanding sod vs seed, their pros and cons, and how long before you can mow new sod. As part of your approach to landscape and lawn maintenance in Halifax, these steps will help you create a yard that stays green and resilient. You’ll also learn how professional landscaping companies like Green Scholars Landscaping & Lawn Care make sure every step is done right.
What You Should Know Before Installing Sod
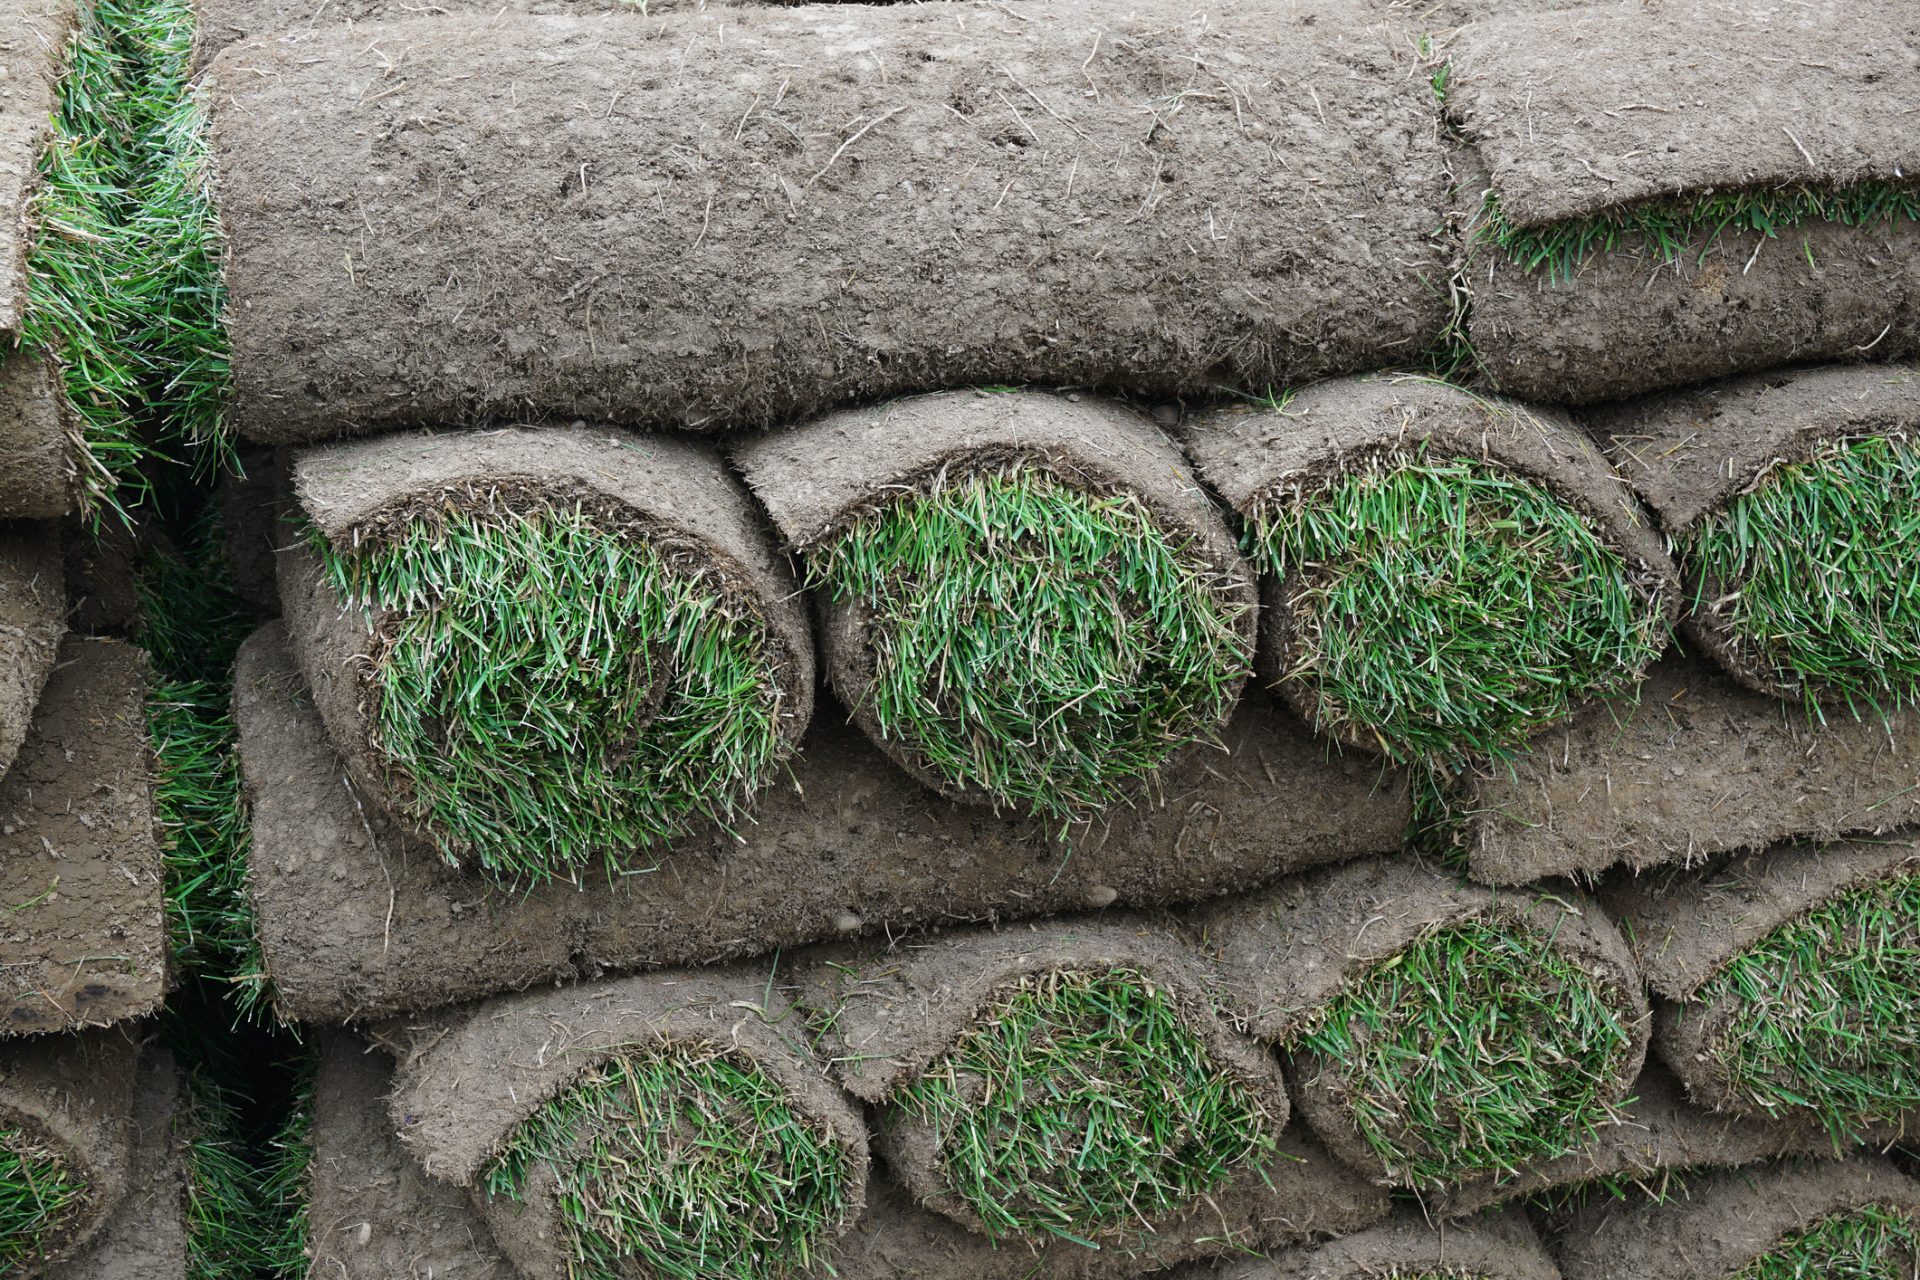
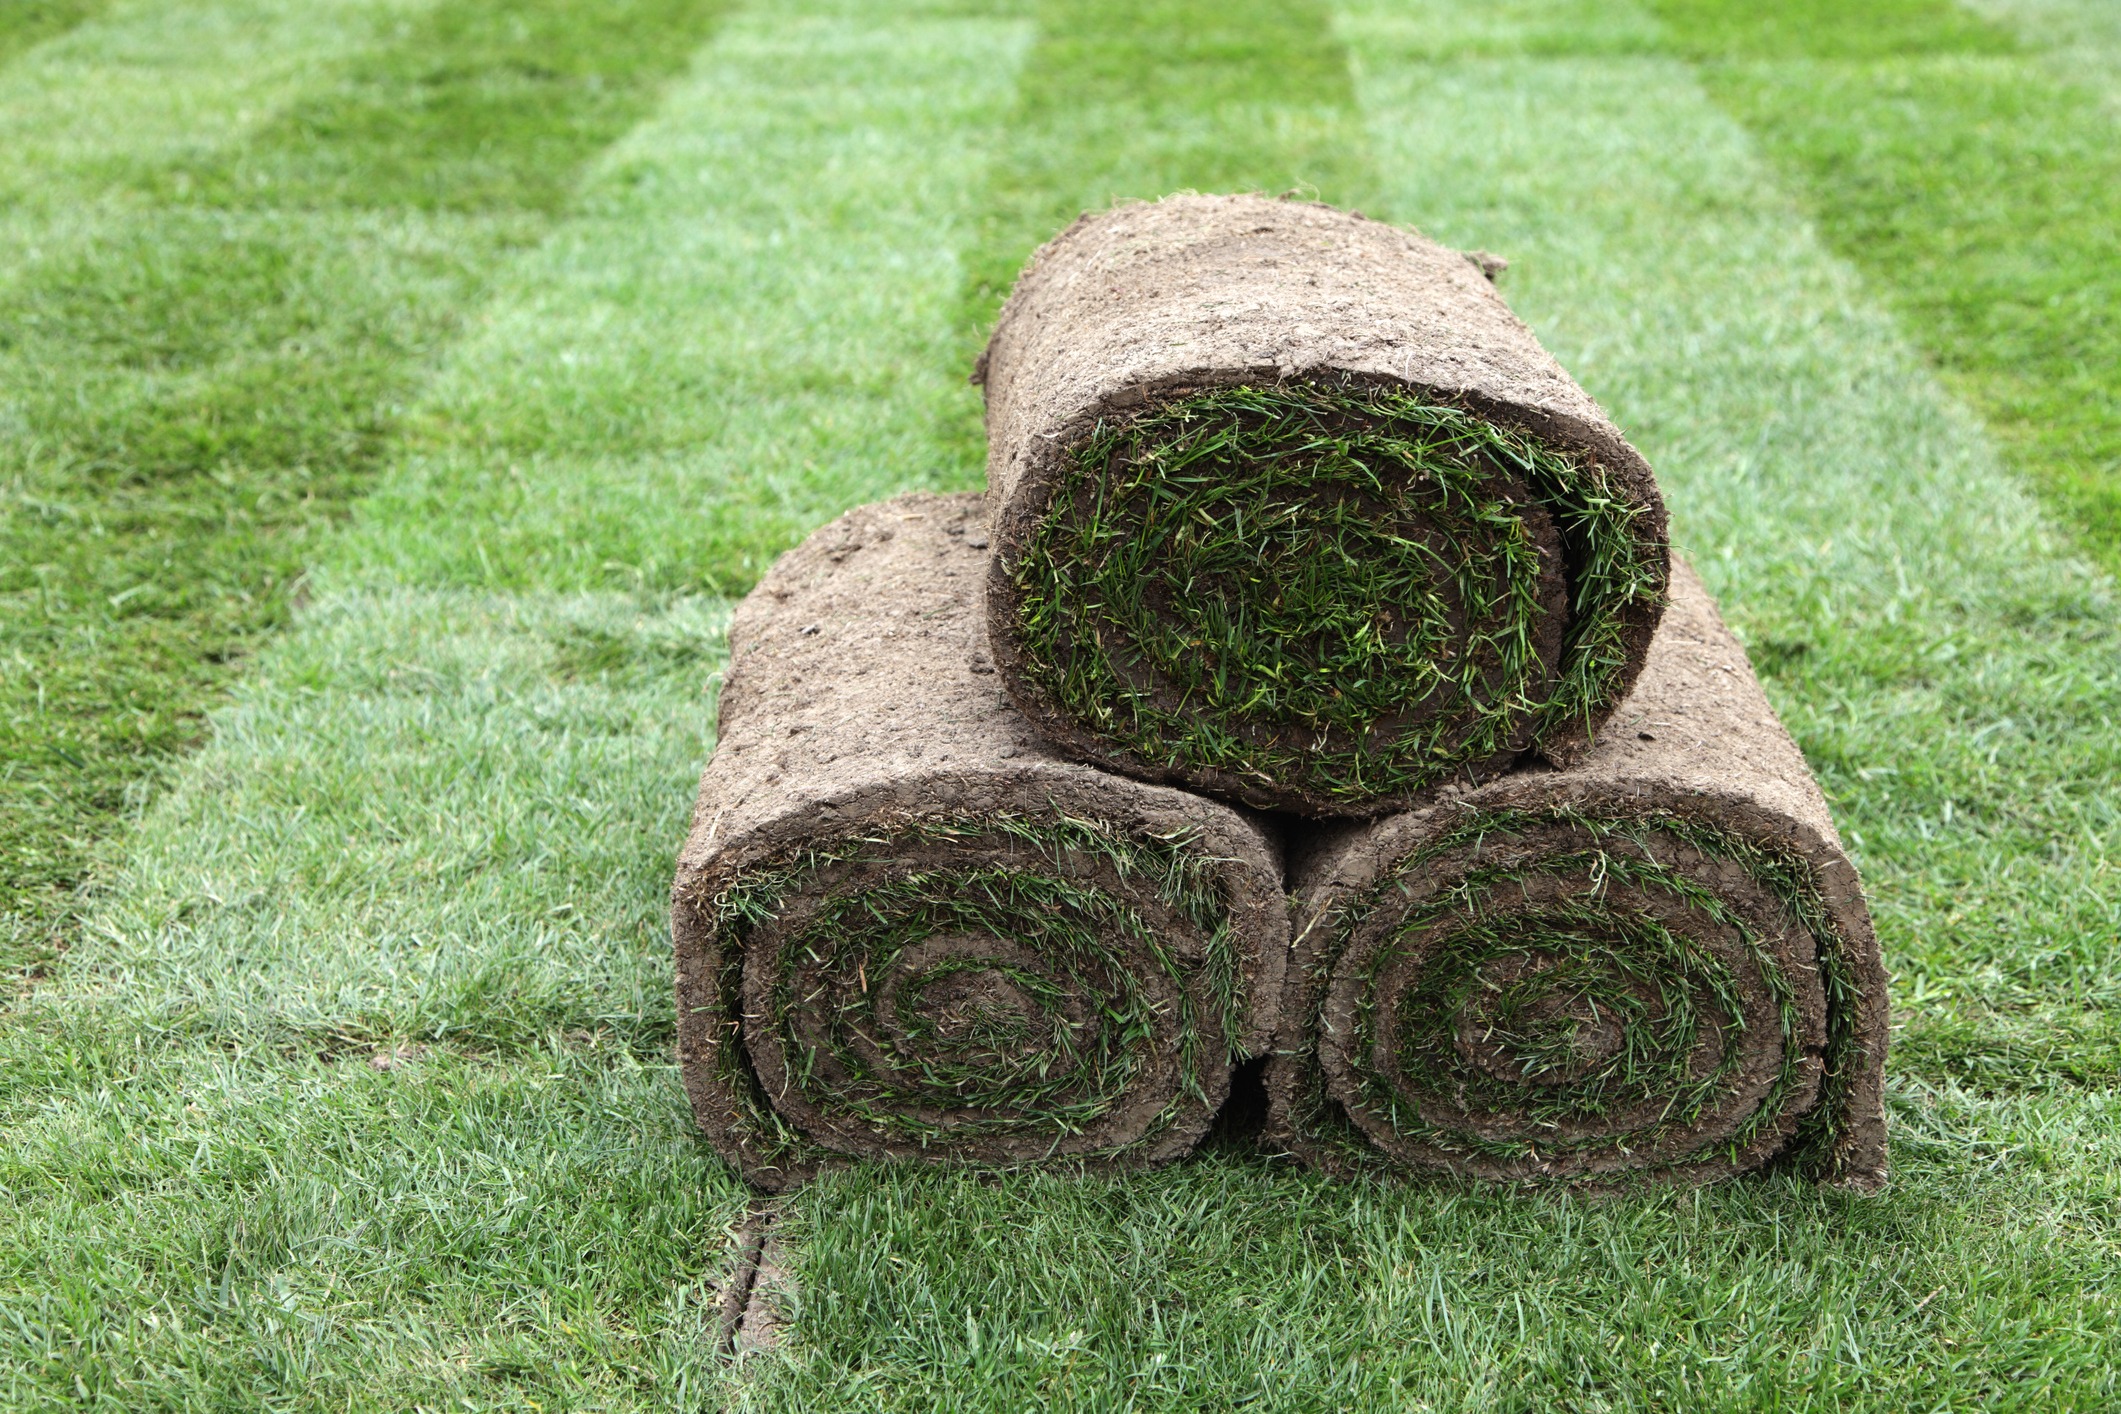
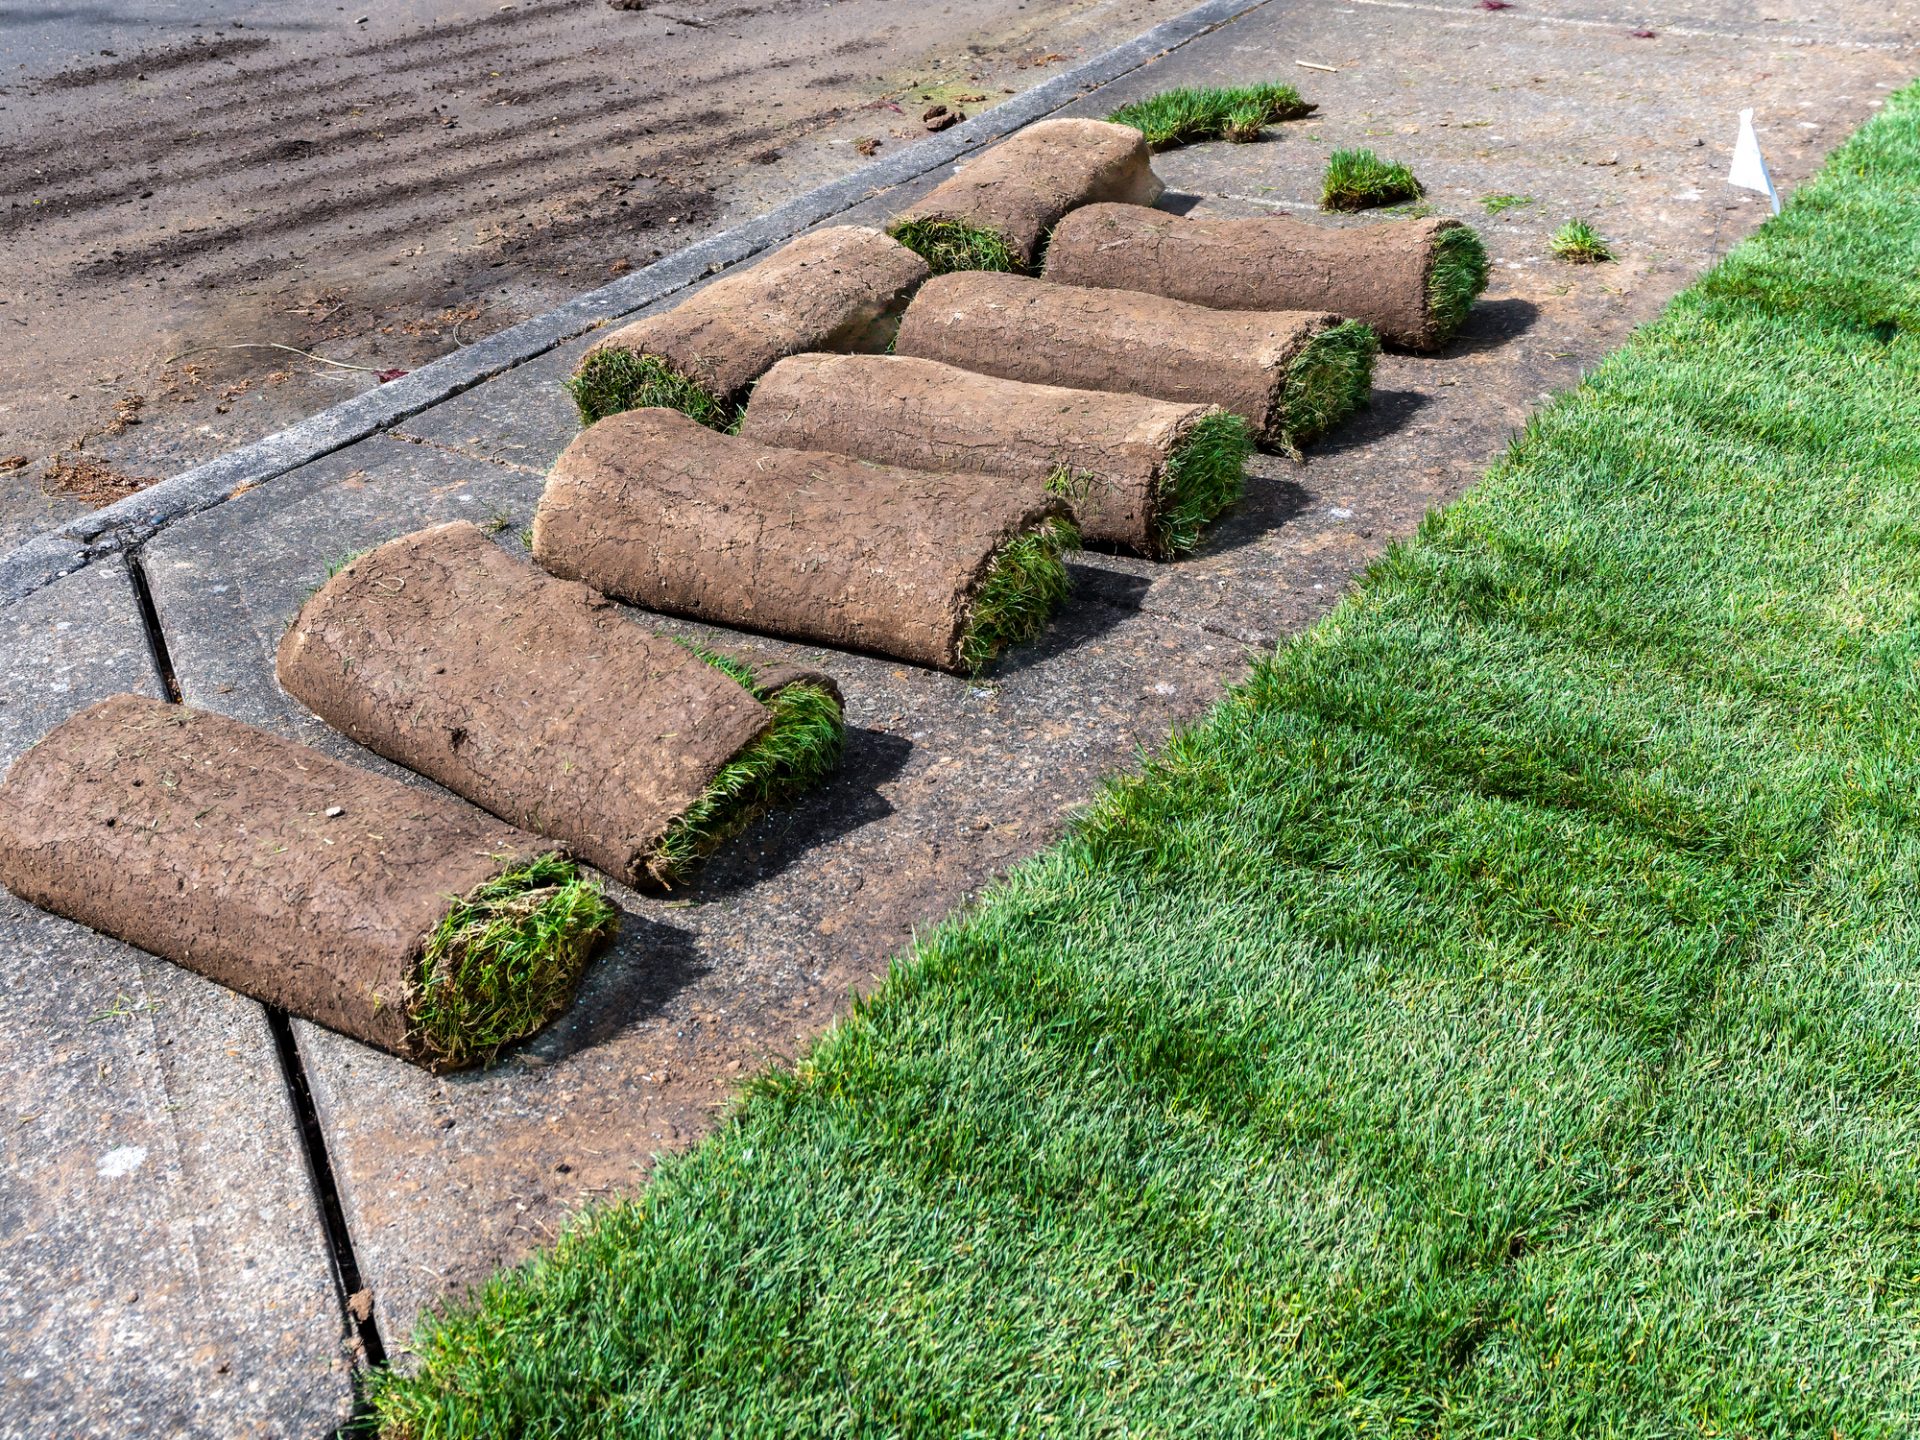
The sod installation process gives you an instant lawn, but success depends on timing, soil prep, and follow-up care. Sod is essentially mature grass that’s been grown and harvested in rolls. Once laid on your property, the goal is for its roots to establish quickly into your soil.
For homeowners, the biggest advantage is time. You don’t have to wait months for grass seed to sprout. Within just a few weeks, your new lawn can be ready for light activity. However, understanding the right conditions for installation and maintenance is key to making that investment last.
When you work with a dependable company like Green Scholars Landscaping & Lawn Care, you benefit from a clear and consistent process. We pick up the phone, provide upfront pricing through Jobber, and stick to a 2-day service window. This kind of responsiveness helps ensure your sod is installed at the right moment, not delayed until the weather changes.
How To Prepare Your Yard For Sod
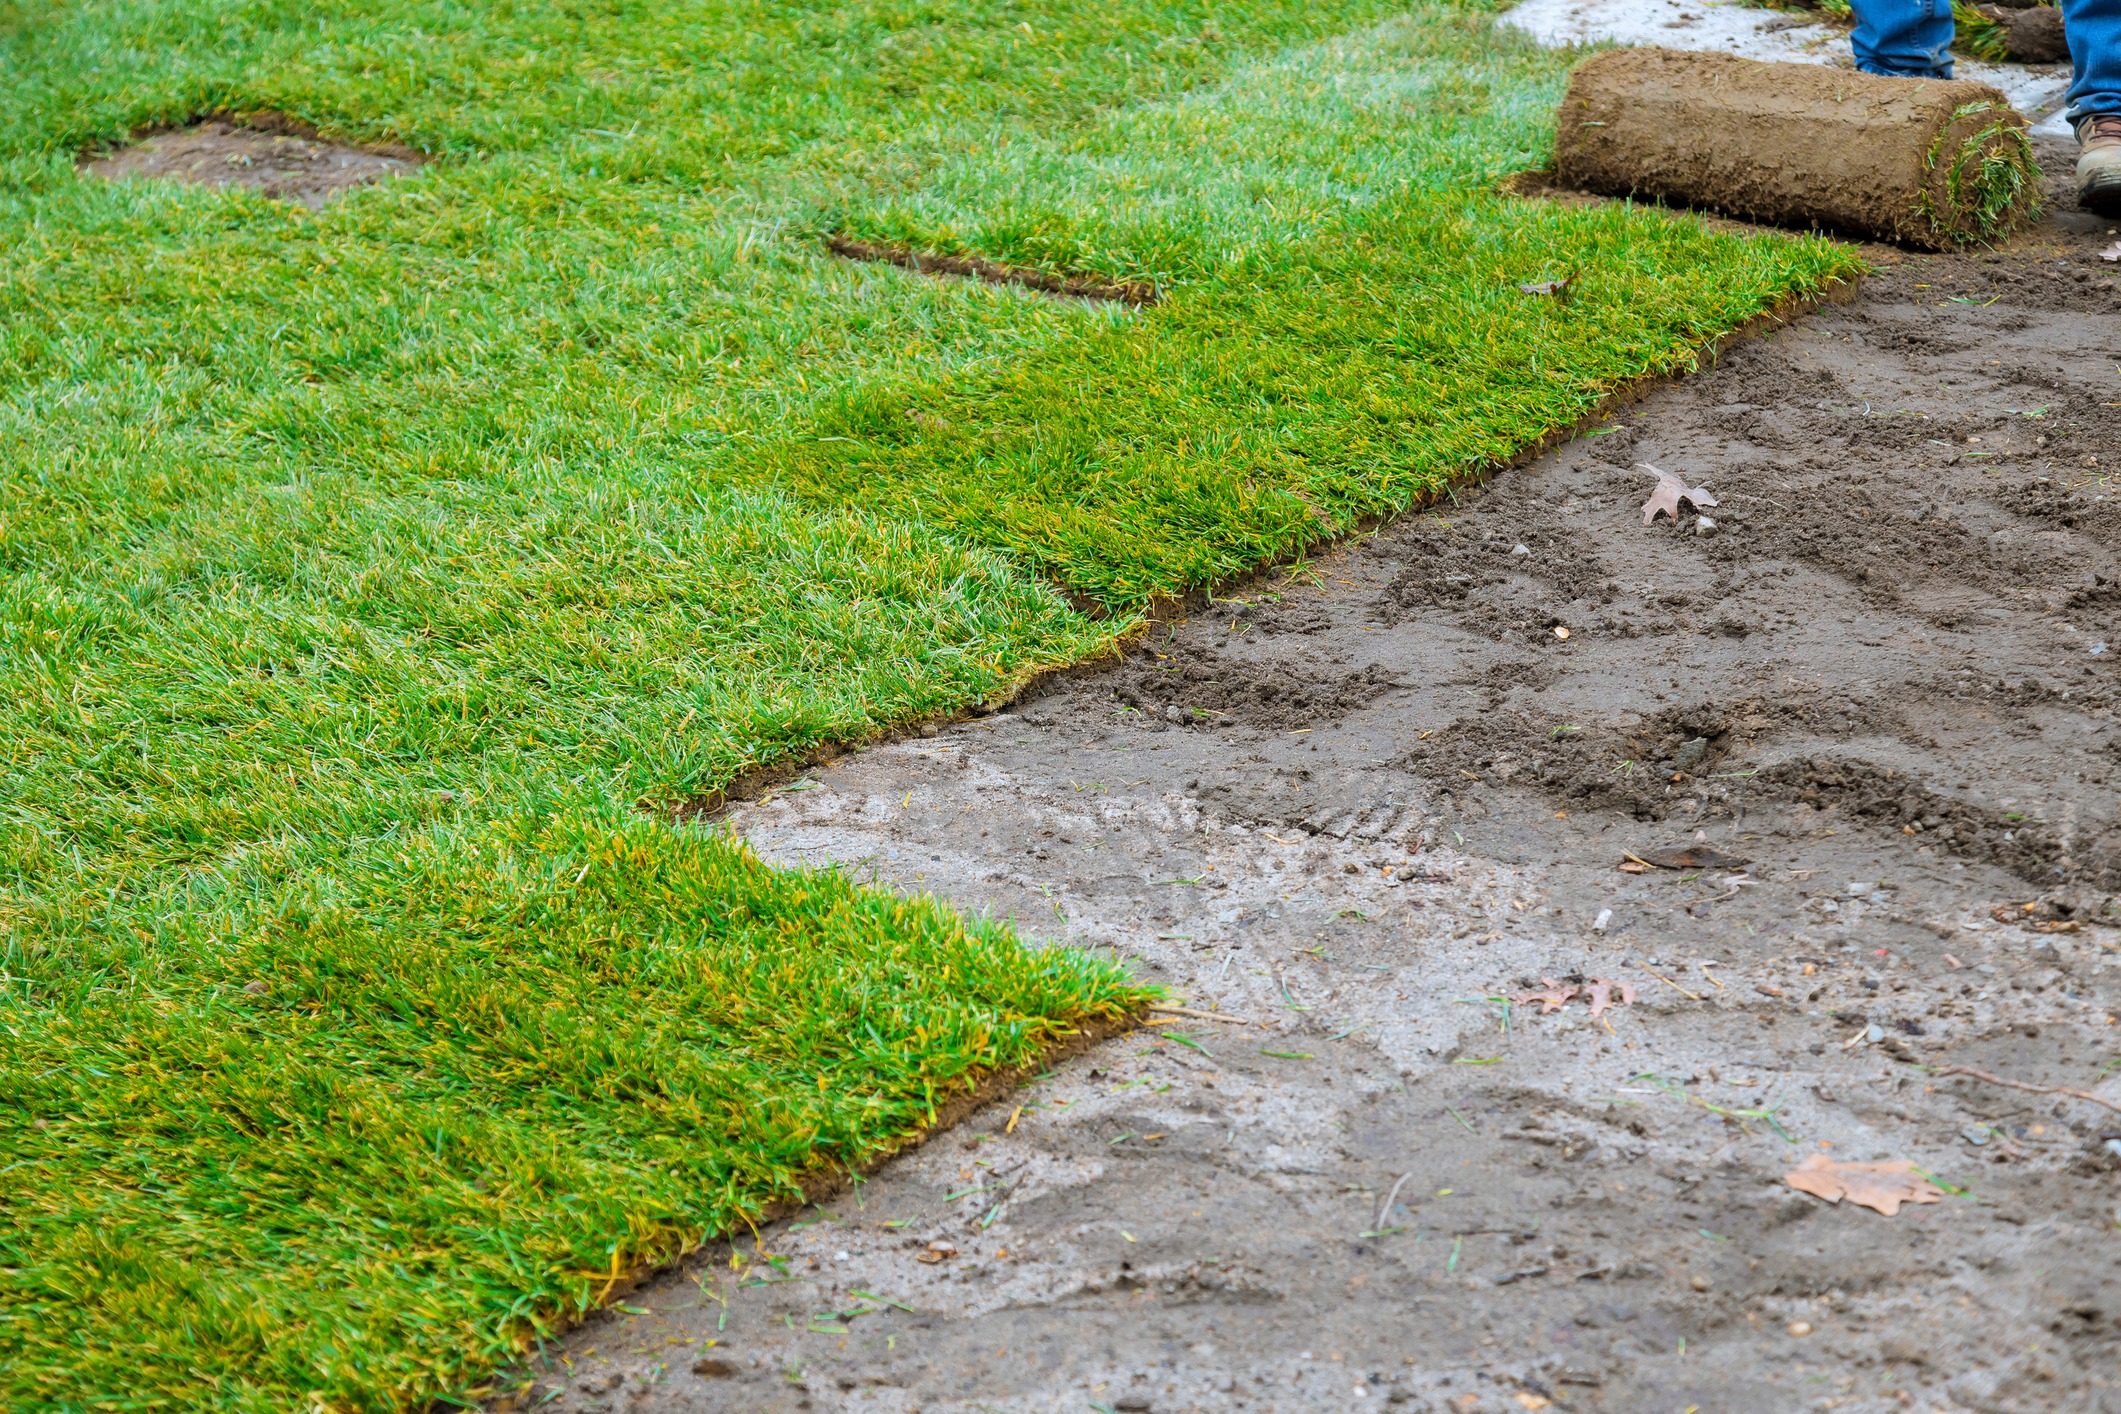
Before the sod installation process begins, you need to prepare your soil correctly. Skipping this step can lead to poor root growth and uneven results. Here’s how to prepare soil for sod:
1. Remove Existing Grass & Debris
Clear away weeds, rocks, and old turf. This gives your new sod a clean, even surface to bond with.
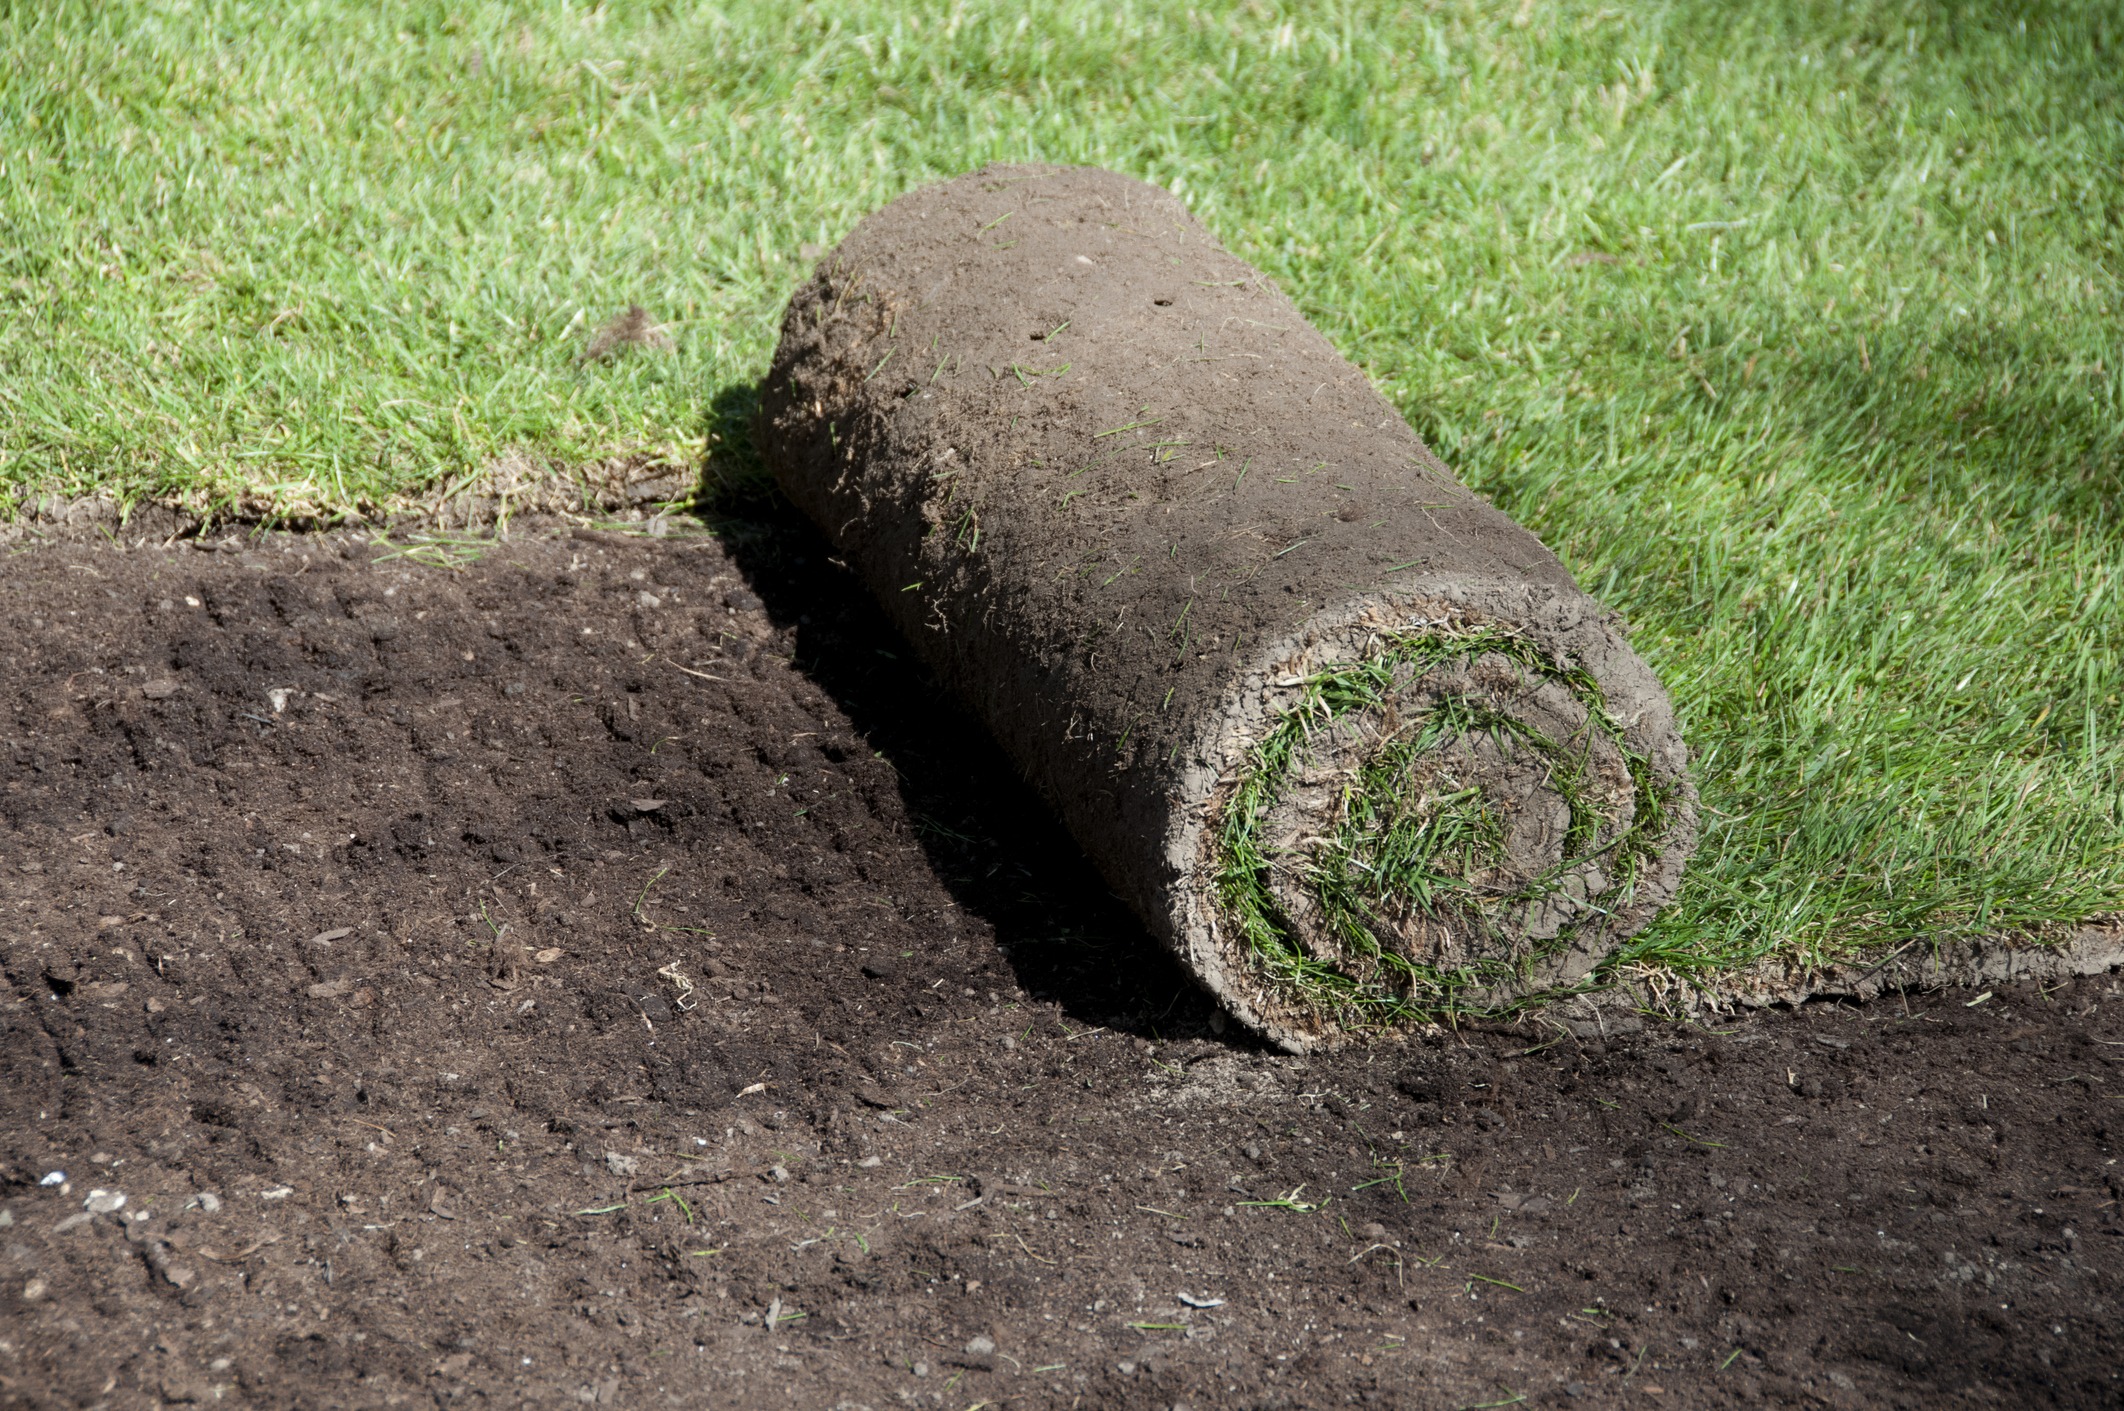
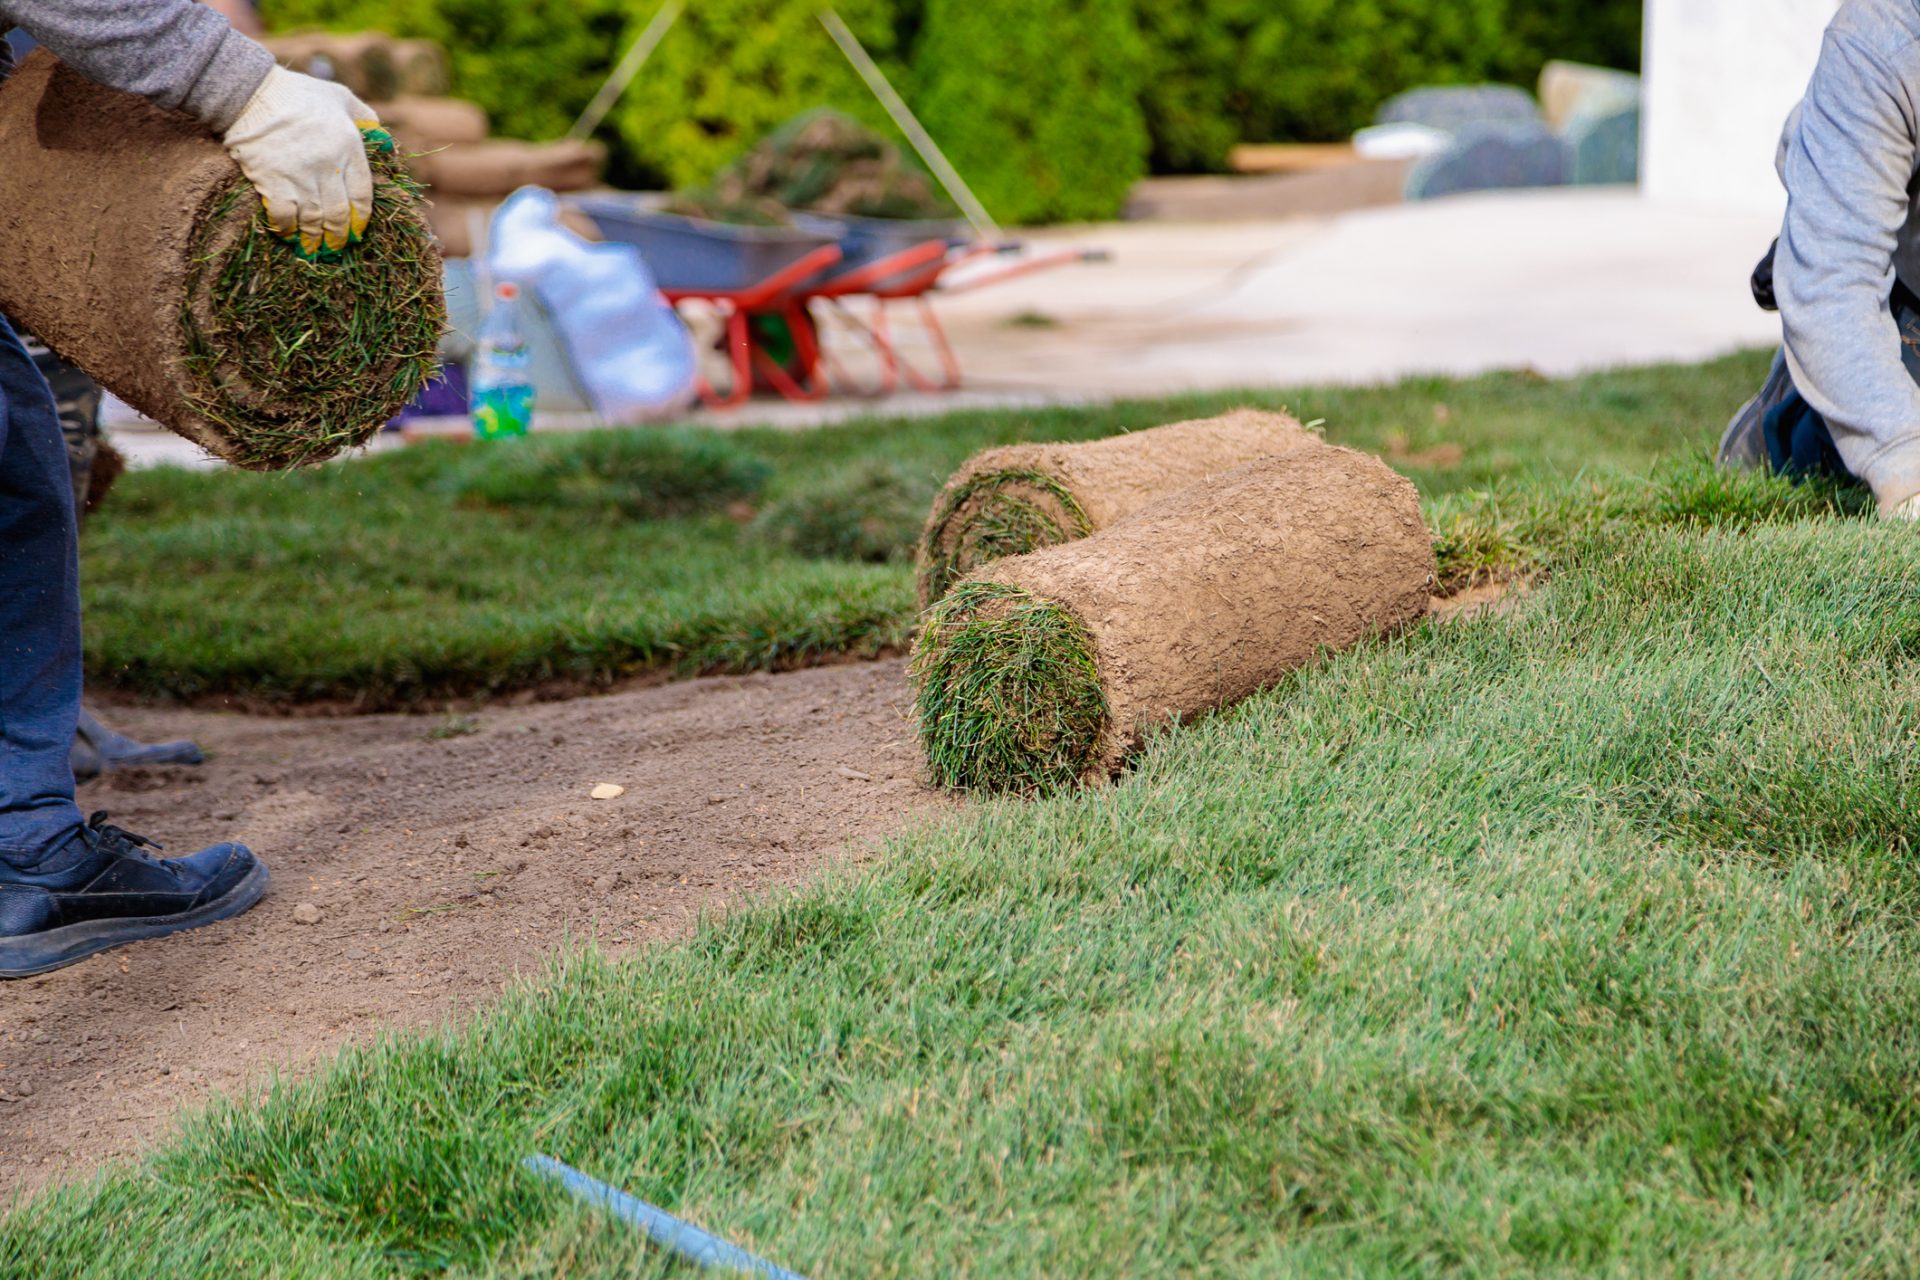
2. Lay Sod
Lay the sod so it sits evenly and makes full contact with the soil. This helps the roots establish quickly and gives you a smooth, healthy-looking lawn.
3. Grade the Soil
Grading the soil helps create an even surface and proper drainage before the sod goes down. As you shape the area, you can add compost or topsoil where needed to improve soil quality and support healthy root growth.
4. Install Sod
Install the sod by laying each piece tightly together with no gaps. Press it firmly into the soil so the roots can make quick contact and start establishing right away.
When Green Scholars crews prepare your yard, they follow a defined checklist. Their performance-based system rewards crews for quality and efficiency, ensuring that every step from leveling to final inspection meets high standards. This means you get a smoother lawn surface and quicker establishment.
When Is The Best Time To Install Sod?
Timing plays a major role in the success of your sod installation process. In Canada, the best times to lay sod are during the cooler months of spring and early fall.
Why Spring and Fall Work Best:
- Cooler temperatures reduce stress on new sod.
- Consistent rainfall supports root development.
- Grass has time to establish before facing extreme heat or frost.
If you’re wondering when to install sod in Halifax, consider the local weather. Early Spring to late Fall is ideal, as the soil remains warm enough for roots to grow, but the air is mild.
Green Scholars Landscaping & Lawn Care ensures your sod is scheduled within that ideal window. Because our team responds quickly and won’t leave you waiting, your project won’t miss that perfect installation window.
Watering Schedule For New Sod
After your sod installation process, watering is the most important step. Without the right watering schedule for new sod, even perfectly laid grass can dry out or fail to root.
Here’s a simple watering schedule to follow:
Days 1–7:
- Water twice daily for about 15–20 minutes each time.
- The goal is to keep the top inch of soil consistently moist.
Days 8–14:
- Water once daily. Reduce the time slightly, but ensure the soil remains damp.
Weeks 3–4:
- Water every other day. By this stage, roots should be extending into the soil.
After 1 Month:
- Switch to your regular lawn watering routine (usually 1 inch of water per week, including rainfall).
Remember, overwatering can be as harmful as underwatering. Pools of water on the surface mean you should ease back. Green Scholars teams often revisit newly sodded lawns to audit their condition, ensuring the watering plan is working as expected.
When You Can Mow New Sod Safely
Many homeowners ask, “How long before you can mow new sod?” Generally, you should wait two to three weeks before your first mow. This allows the roots to take hold in the soil.
Follow these steps before mowing:
- Gently tug on the sod. If it resists, roots have anchored.
- Make sure the soil surface is dry to prevent damage.
- Set your mower to the highest setting for the first cut.
- Never remove more than one-third of the grass height at a time.
Cutting too early or too short can pull up new sod and set growth back weeks. If there’s a problem, we’ll send a team back to make it right.
Sod Vs Seed: What’s Right For You
When deciding between sod vs seed pros and cons, it comes down to time, budget, and maintenance preferences.
Sod: Pros & Cons
Pros
- Instant results with full coverage.
- Helps control erosion immediately.
- Can be installed most of the growing season.
Cons
- Higher upfront cost than seeding.
- Requires consistent watering in the early weeks.
Seed: Pros & Cons
Pros
- More affordable initially.
- Easier to mix grass types suited to your soil.
Cons
- Takes months up to a year to mature fully.
- Requires frequent watering and weed management.
- Might be patchy and require additional seed.
If you want a finished lawn quickly, sod is the clear choice. And with the sod installation process handled by trained crews, you get predictable results. Seed is better for those willing to wait longer and tend to the lawn closely during establishment.
How To Keep Your Sod Healthy Long-Term

Once your sod installation process is complete, long-term care helps maintain that rich green appearance. The first few months are critical for building deep roots and resistance to wear.
Follow these maintenance tips:
1. Stick To A Consistent Watering Routine
Even after the first month, consistency matters. Adjust based on weather; dry, windy days may require extra watering.
2. Fertilize At The Right Time
Apply a balanced fertilizer about six weeks after installation. Avoid overfertilizing early, which can burn new roots.
3. Mow Correctly
Always use a sharp blade and maintain a moderate grass height. Cutting too low weakens your lawn.
4. Watch For Weeds And Pests
Healthy sod resists most weeds naturally. If you spot issues, use a gentle treatment designed for new lawns.
5. Schedule Regular Check-Ins
Professional maintenance helps identify small problems early. Hire us to take care of your lawn and mow it so it always looks clean, uniform, and well-maintained.
Why Reliable Service Matters
For many Halifax homeowners, the difference between a good landscaping company and a great one comes down to communication and follow-through. Green Scholars Landscaping & Lawn Care stands out for being easy to reach and dependable.
When you call, someone answers. You get clear pricing immediately, and your service is booked within a 2-day window. Crews show up when promised, complete your sod installation process efficiently, and double-check every detail. If something isn’t perfect, we fix it the same day.
This professional, fair approach creates peace of mind. You don’t have to chase down updates or worry about timelines. You get a lawn that looks great and a service experience that feels organized and respectful of your time.
Wrapping Up: The Value Of Doing It Right

Installing sod is one of the most effective ways to create a beautiful lawn quickly. By understanding the sod installation process, how to prepare soil for sod, and when to install sod, you can ensure lasting results. Following a reliable watering schedule for new sod and knowing how long before you can mow new sod will help protect your investment.
Choosing sod over seed provides instant satisfaction and fewer growing pains, especially when handled by an experienced team that values dependability and quality.
Ready to enjoy a green, healthy lawn without the hassle? Request a quote and have the experts handle every step of your sod installation process with care and precision.
Summary
This guide walks you through the sod installation process, covering every step from preparation to maintenance. It explains how to prepare soil for sod, outlines the ideal watering schedule for new sod, and helps you decide when to install sod. You’ll also learn the sod vs seed pros and cons and how long before you can mow new sod. With the right care and a trusted local partner, your lawn can stay vibrant and healthy year-round.
Tags: